Using the New Local Masking Adjustment Tools to Take Your Images Beyond the Ordinary with Lewis Kemper
This workshop has been specially designed by the instructor for a Zoom presentation. Adobe recently made some huge changes to the Develop module in Lightroom and the Adobe Camera Raw in Photoshop. Learn how to use the new masking tools to take your images to the next level. Your Zoom link will be sent two days prior to the workshop along with any material instructions.
There is a famous quote by Ansel Adams, the renowned landscape photographer, “The negative is the equivalent of the composer’s score, and the print the performance.” Ansel was famous for having such luminous black and white prints, with full tonal ranges from deep blacks to glowing whites. A lot of the skill to make those images look so great was Adams’s ability to print in the darkroom using a variety of tools to burn (darken) and dodge (lighten) portions of his images to direct the viewer’s eye, and to make his image radiate light.
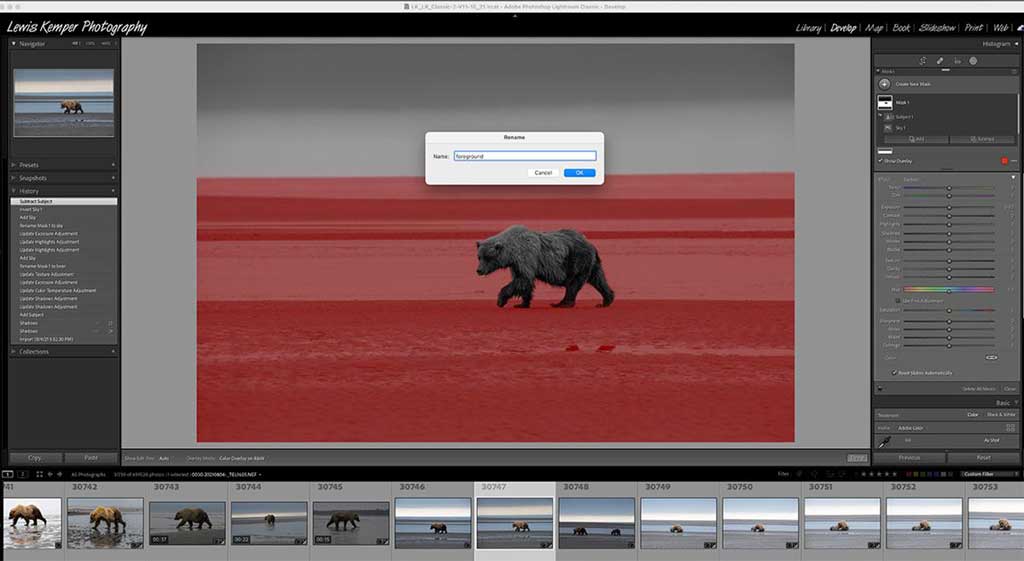
For the digital photographer of today, the quote would be, “The raw file is the equivalent of the composer’s score, and the processed file the performance.” The tools we have for crafting these raw files from the ordinary to the extraordinary are the Masking Tools. In Adobe Camera Raw or Lightroom these tools consist of the new Select Sky; Select Subject; Color Range and Luminance Range as well as the older Adjustment Brush, the Radial Filter, and the Graduated Filter. Learn how to merge masks, intersect masks, and more. With these tools, you can take a good image and make it great! Soon you will be creating masterpieces from your images.
Your Zoom link will be sent two days prior to the workshop along with any material instructions.